How to Install Drylining in Large-Scale Construction Projects
News Blog
May 18, 2026


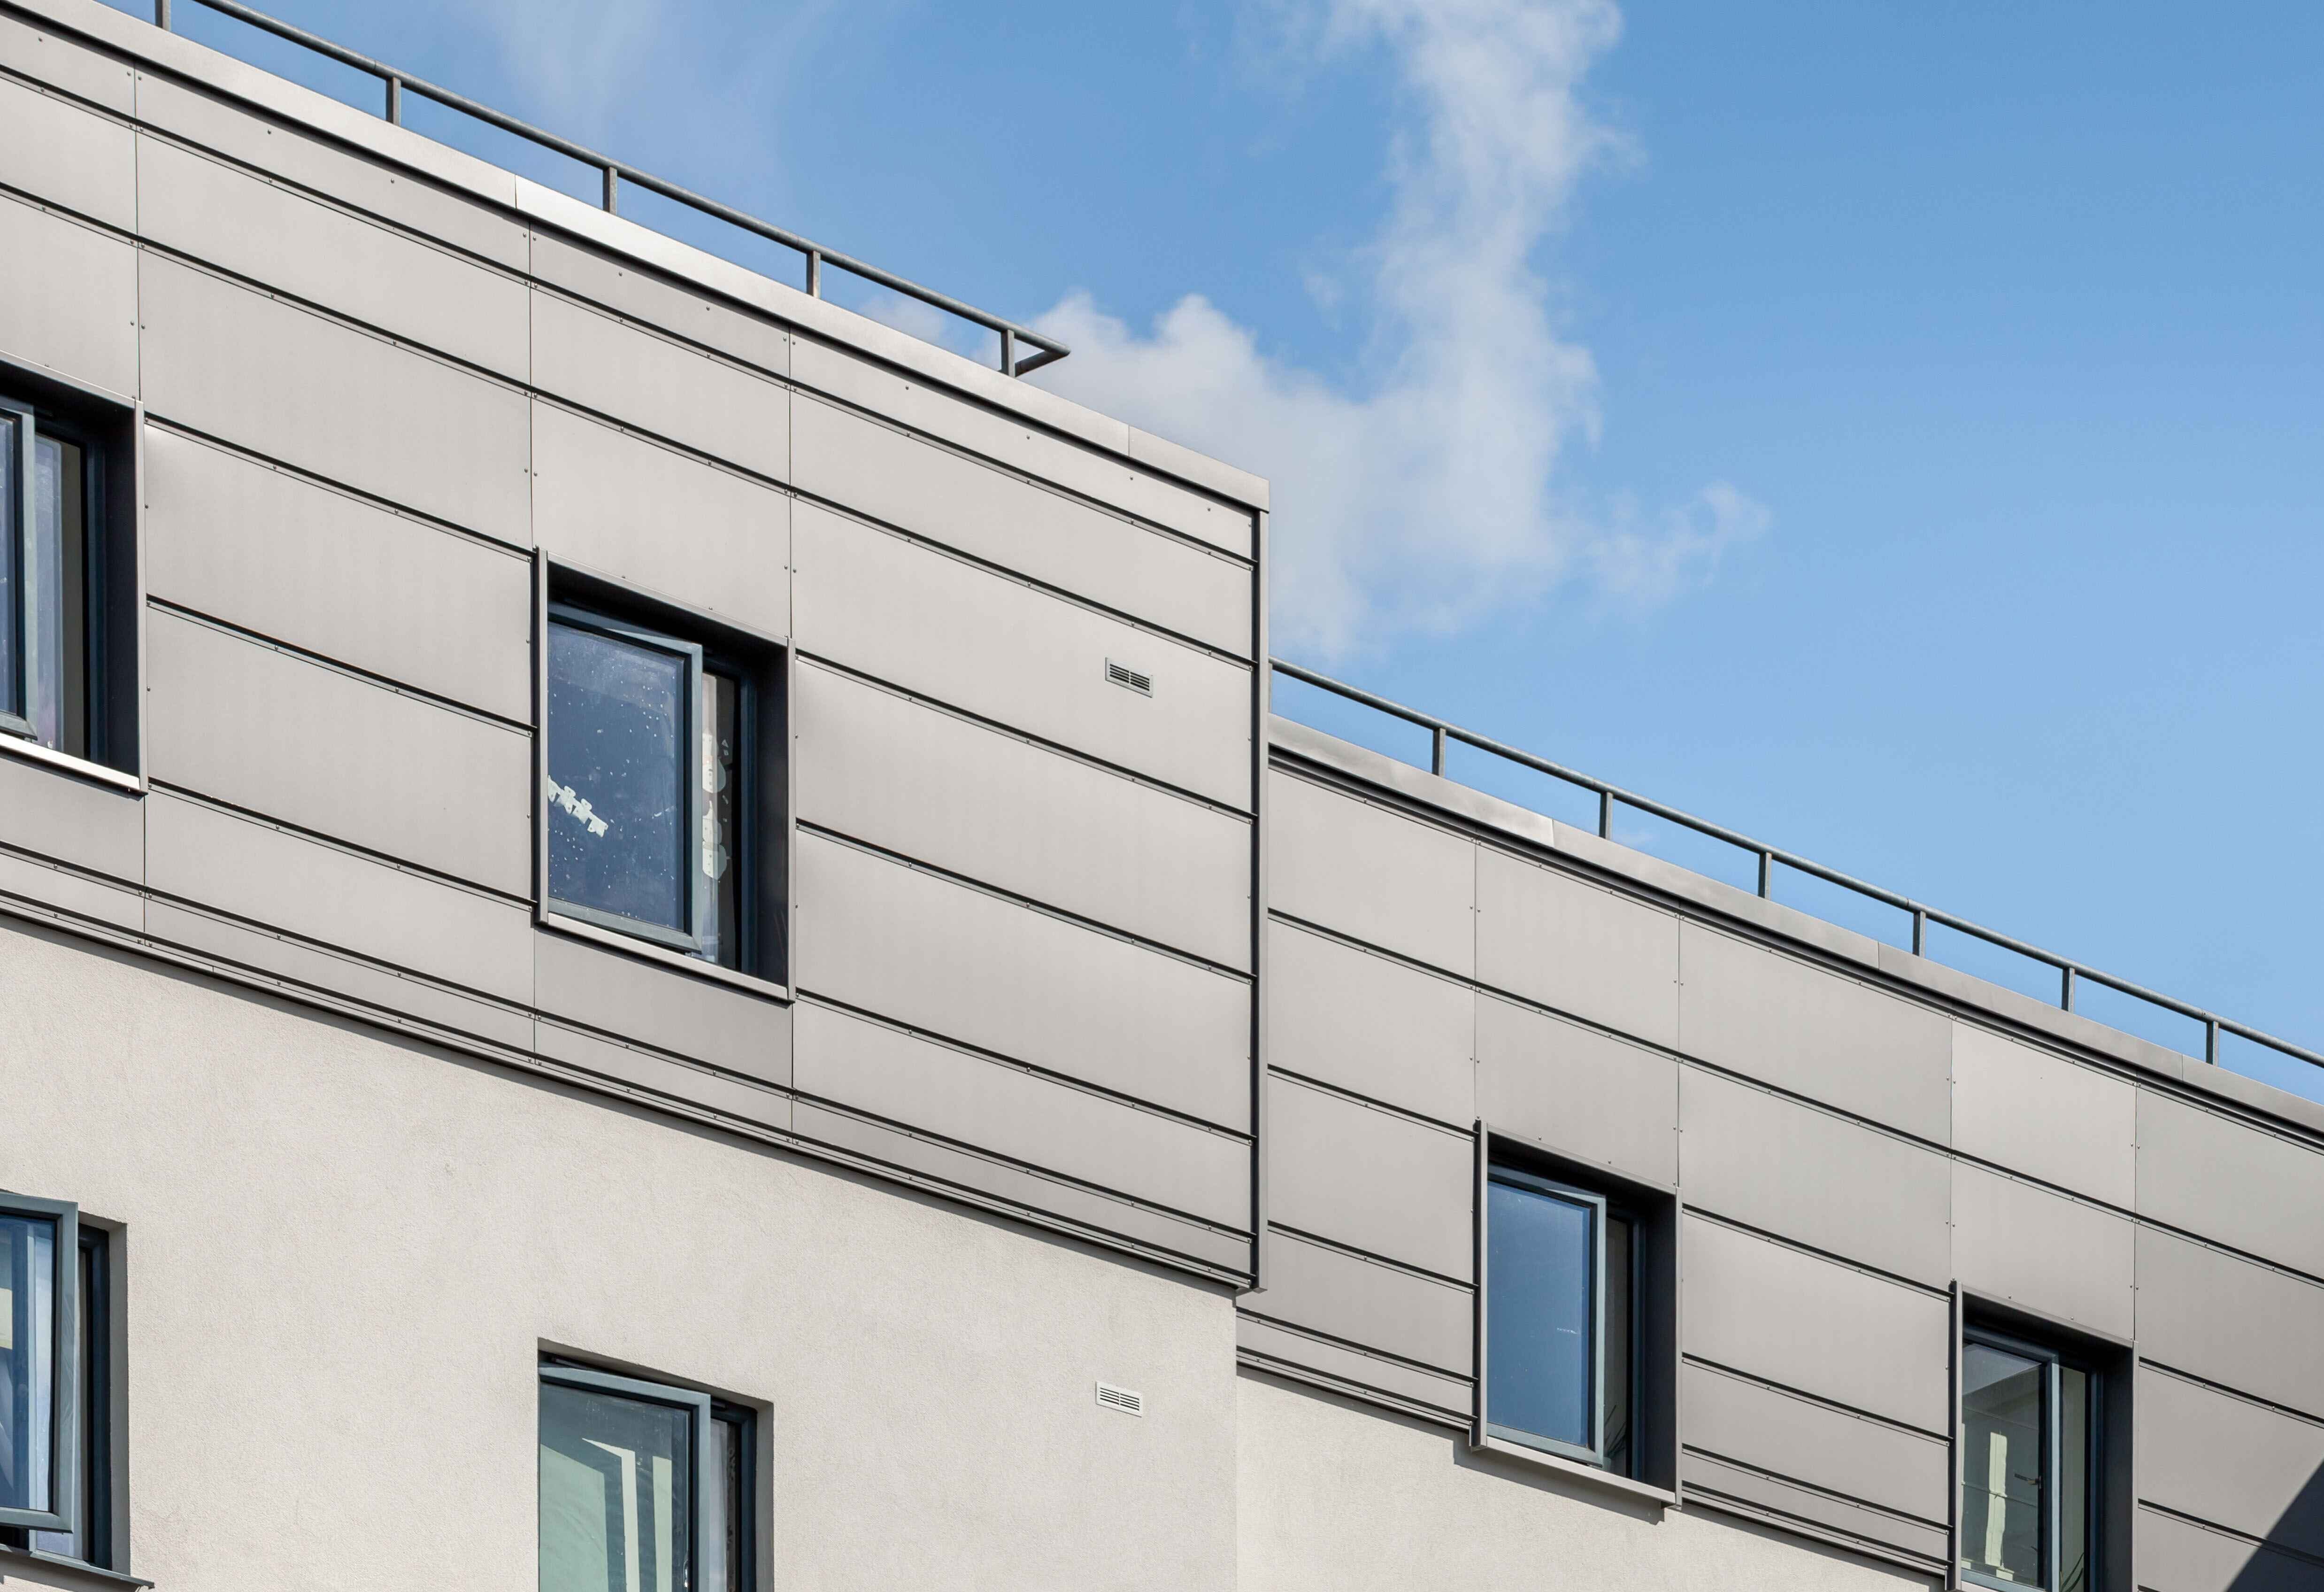
Drylining is a fundamental aspect of modern construction, providing a quick, efficient, and cost-effective way to create smooth, durable internal walls and ceilings. It plays a key role in fire resistance, thermal insulation, and acoustic performance, making it a preferred solution in commercial and residential buildings.
This guide explores how drylining is installed in large-scale projects, covering the process, materials, and best practices for achieving a high-quality finish.
What is Drylining?
Drylining involves fixing plasterboard or specialist panels to internal walls or ceilings without using wet plaster. It provides a faster, cleaner, and more flexible alternative to traditional plastering, reducing construction timelines while maintaining structural integrity.
Benefits of drylining include:
- Faster installation – Reduces drying times compared to wet plaster.
- Improved insulation – Can be combined with thermal or acoustic insulation materials.
- Fire resistance – Fire-rated boards enhance building safety.
Smooth finish – Ready for decoration or further surface treatments.
The Drylining Installation Process
Step 1: Preparing the Surface & Selecting Materials
Before installation, walls and ceilings must be inspected for structural stability. The choice of materials depends on project requirements:
- Standard plasterboard – Ideal for general partitions and ceilings.
- Moisture-resistant boards – Used in kitchens, bathrooms, and humid environments.
- Fire-rated boards – Essential for compliance with fire safety regulations.
- Acoustic plasterboard – Reduces sound transmission in offices, hotels, and residential developments.
Step 2: Fixing the Framework
Drylining can be applied using different methods, depending on the building structure:
1. Metal Stud Partitioning (Common in Commercial Buildings)
- A lightweight metal framework is installed to create partitions.
- Provides space for insulation, cabling, and ventilation systems.
- Offers greater structural stability for large-scale projects.
2. Dot and Dab Method (Common in Residential Construction)
- Plasterboard is adhered directly to the wall using drywall adhesive dabs.
- Creates an even surface for quick finishing.
- Faster and more economical for large-scale housing developments.
3. Direct Fixing (For Ceilings and Wall Linings)
- Boards are screwed onto an existing wall or ceiling framework.
- Often used in high-rise developments and commercial fit-outs.
Step 3: Installing Insulation (Optional but Recommended)
For improved energy efficiency and noise reduction, insulation materials can be added between stud partitions or behind drylining boards.
- Mineral wool insulation – Improves acoustic and fire resistance.
- Rigid foam boards – Enhances thermal efficiency in office buildings.
- Acoustic insulation membranes – Reduces noise transfer in residential developments.
Step 4: Jointing and Finishing
Once the drylining boards are securely fixed, the joints and screw holes must be filled to create a seamless surface ready for painting or decoration.
- Taping and jointing – Joint tape is applied, followed by layers of filler for a smooth finish.
- Skimming (Optional) – A thin layer of plaster provides an extra-smooth surface.
Sanding and sealing – Ensures the surface is even and dust-free before decoration.
Best Practices for Large-Scale Drylining Projects
- Follow Building Regulations – Ensure compliance with fire safety and acoustic performance standards.
- Use High-Quality Materials – Selecting the right plasterboard and fixings improves durability.
- Allow for Expansion Gaps – Prevents cracks caused by temperature and humidity changes.
- Plan for Electrical & Mechanical Installations – Ensure service routes are accessible before drylining.
- Work with Experienced Contractors – Large-scale projects require specialist expertise to ensure precision and efficiency.
Why Drylining is the Preferred Choice for Modern Construction
For large-scale commercial and residential developments, drylining offers:
- Speed & Efficiency – Faster completion times compared to traditional plastering.
- Improved Fire & Acoustic Performance – Meets high safety and comfort standards.
- Flexibility & Adaptability – Suitable for offices, high-rise buildings, and modular construction.
- A Seamless, High-Quality Finish – Creates smooth, modern interiors with minimal disruption.
At OCL London, we specialise in large-scale drylining solutions, working with developers, contractors, and architects to deliver high-performance internal wall and ceiling systems. Our expertise ensures compliance, efficiency, and outstanding finishes across commercial and residential projects.
Get in touch with OCL London today to discuss your drylining project and learn how our expertise can enhance your construction development.
FAQs on Drylining
Q: How long does drylining take to install on a large-scale project?
On large commercial projects, drylining programmes are planned individually and can run from a few weeks to several months, depending on the floor area, number of partitions, and complexity of the specification. A key factor in overall programme length is coordination with first-fix trades — electrical and mechanical services must be installed and signed off within the stud framework before boarding can commence.
Q: What is the difference between metal stud partitioning and dot and dab drylining?
Metal stud partitioning involves constructing a freestanding framework of steel studs and tracks onto which plasterboard is fixed — ideal for creating new partitions and accommodating insulation or services within the void. Dot and dab involves bonding plasterboard directly to an existing masonry wall using adhesive dabs, without a separate framework. Metal stud is the standard for commercial large-scale projects; dot and dab is more common in residential settings where walls are already structurally sound and flat.
Q: Does drylining meet UK Building Regulations for fire safety?
Yes, when specified and installed correctly. Fire-rated plasterboard systems — tested and certified to achieve 30 or 60-minute fire resistance ratings — are used in locations where Building Regulations require compartmentation or fire protection. It is essential that the correct board type, fixing centres, jointing method, and any required intumescent seals are all specified in line with the manufacturer’s tested build-up and the relevant Approved Documents.
Q: Can drylining be used in wet areas such as bathrooms or plant rooms?
Yes, but moisture-resistant or moisture-tolerant plasterboard must be specified in areas exposed to humidity or intermittent water contact, such as bathrooms, changing rooms, and plant rooms. In areas subject to direct water contact (such as shower enclosures), a tile backer board or cement-based board is typically required rather than standard moisture-resistant plasterboard.
Q: How does drylining compare to traditional plastering in terms of cost?
Drylining is generally 20–30% more cost-effective than traditional wet plastering for large-scale commercial and residential projects, when both material and labour costs are considered. The key saving comes from speed: drylining requires no drying time, allowing other trades to follow on sooner and reducing the overall construction programme, which lowers costs across the project.
 back to posts